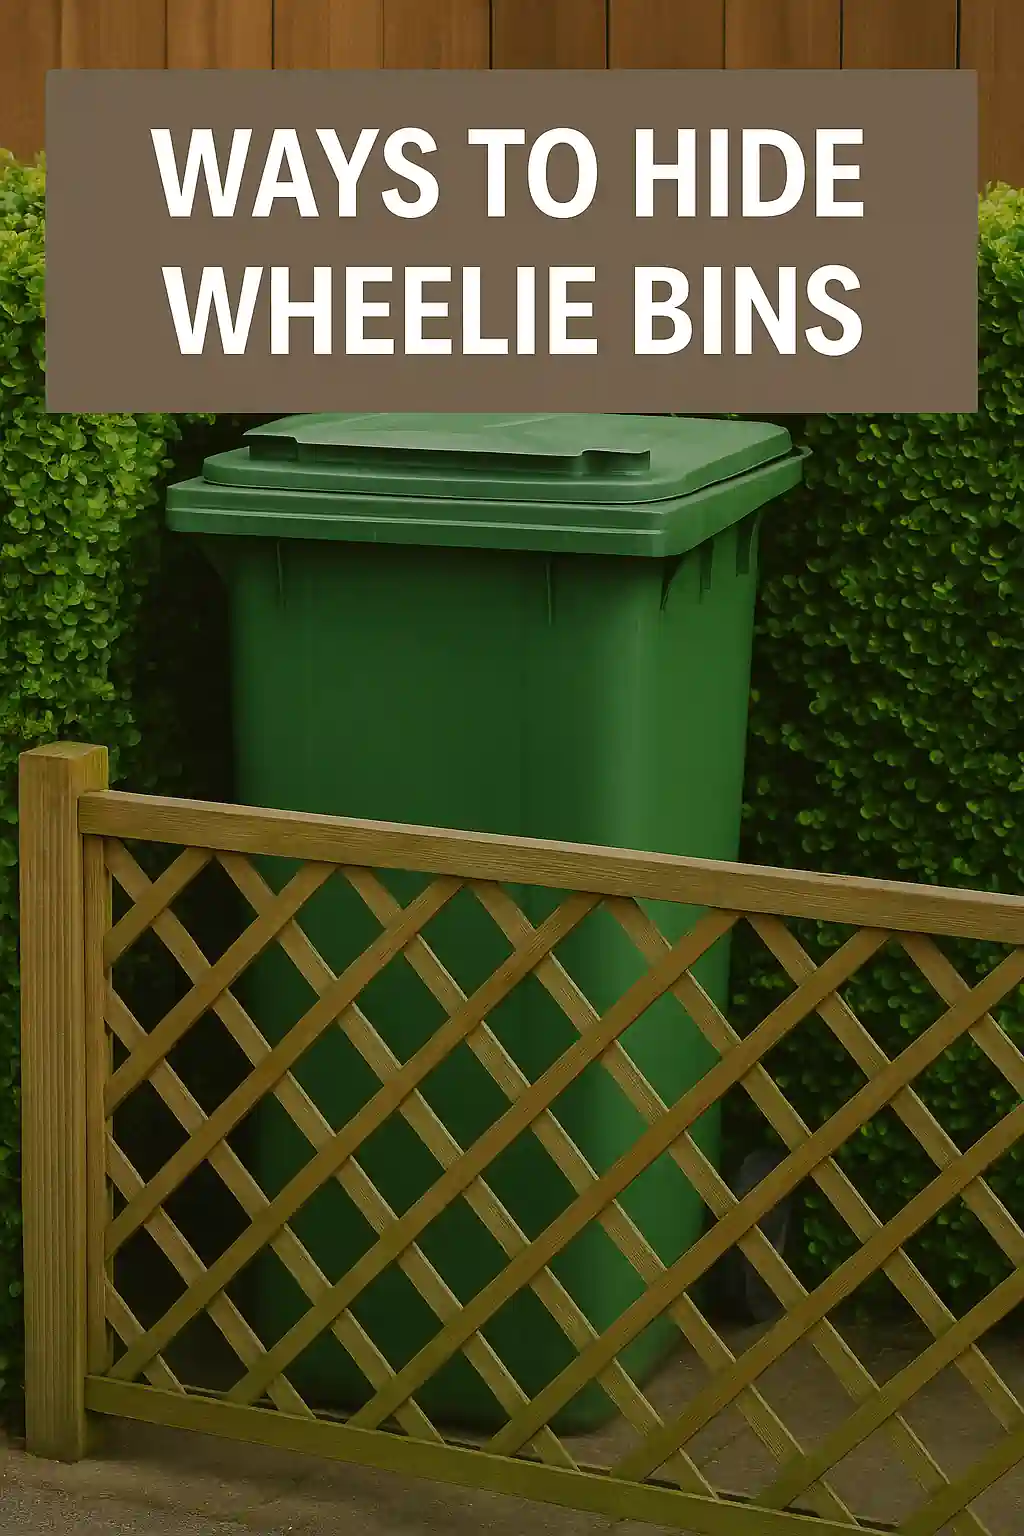
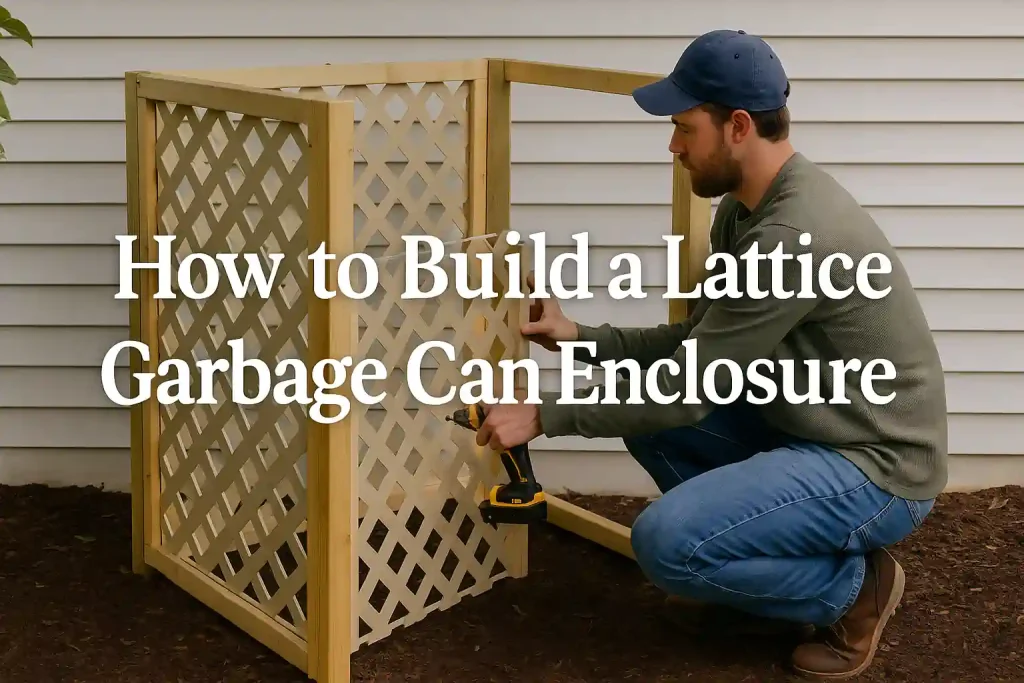
How to Build a Lattice Garbage Can Enclosure: A Stylish Way to Hide Your Trash Bins
If you’re tired of seeing your garbage cans sitting in plain sight, you’re not alone. Many homeowners want their outdoor space to look clean, organized, and aesthetically pleasing. A lattice garbage can enclosure is one of the simplest, most cost-effective DIY projects you can tackle to hide your trash bins while enhancing your home’s curb appeal.
In this guide, you’ll learn how to build a lattice garbage can enclosure, what materials you’ll need, and smart tips to ensure your structure is durable, functional, and beautiful.
Why Build a Garbage Can Enclosure?
Before we dive into the steps, let’s quickly look at why a lattice-style garbage bin screen is worth building:
- Improves curb appeal: No more ugly bins ruining your landscape.
- Adds structure to outdoor areas: Great near garages, side yards, or garden walls.
- Keeps pests away: Keeps raccoons, cats, or dogs from digging through trash.
- Boosts home value: Small outdoor improvements can make a big difference.
- Complies with HOA rules: Some neighborhoods require hidden trash storage.
Materials You’ll Need
For a standard 3-sided enclosure for two 32-gallon garbage cans, here are the basic materials:
Framing Materials:
- 4×4 pressure-treated wood posts (for structural support)
- 2×4 pressure-treated lumber (for framing the panels)
- Galvanized deck screws or exterior wood screws
- Concrete mix (for securing the posts if you’re installing into soil)
Paneling Materials:
- Vinyl or wooden lattice panels (prefinished or paintable)
- Lattice cap molding (optional, for a clean top finish)
Tools:
- Post hole digger or auger
- Circular saw or hand saw
- Cordless drill/driver
- Tape measure
- Carpenter’s level
- Exterior wood stain or paint (if using wood)
- Safety gloves and goggles
Step-by-Step: How to Build a Lattice Garbage Can Enclosure
1. Measure Your Space and Plan the Layout
Start by measuring the width and depth of your garbage cans. Add a few inches of clearance on all sides for easy access. Most homeowners prefer a U-shaped 3-wall enclosure open from the front or with a gate option.
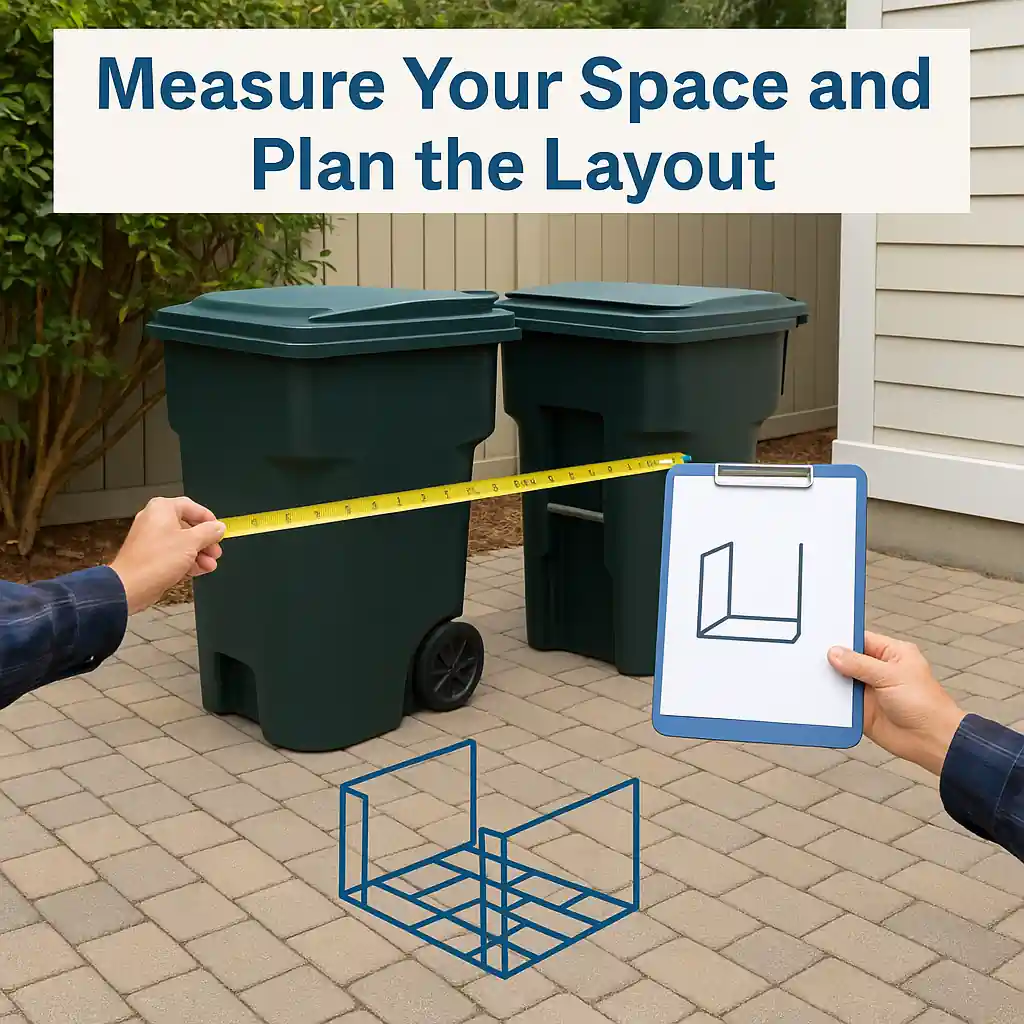
Pro Tip: Place the enclosure on level ground near your garage, driveway, or side yard for easy access to trash pickup.
2. Mark Post Locations and Dig Holes
Mark the spots where your 4×4 corner posts will go. You’ll typically need four posts: two in the back and two in front (or just three if you’re going for a corner design).
- Use a post hole digger to dig 18–24 inches deep.
- Pour gravel at the base of each hole for drainage.
- Set the post in place and fill with concrete mix. Use a level to keep it straight.
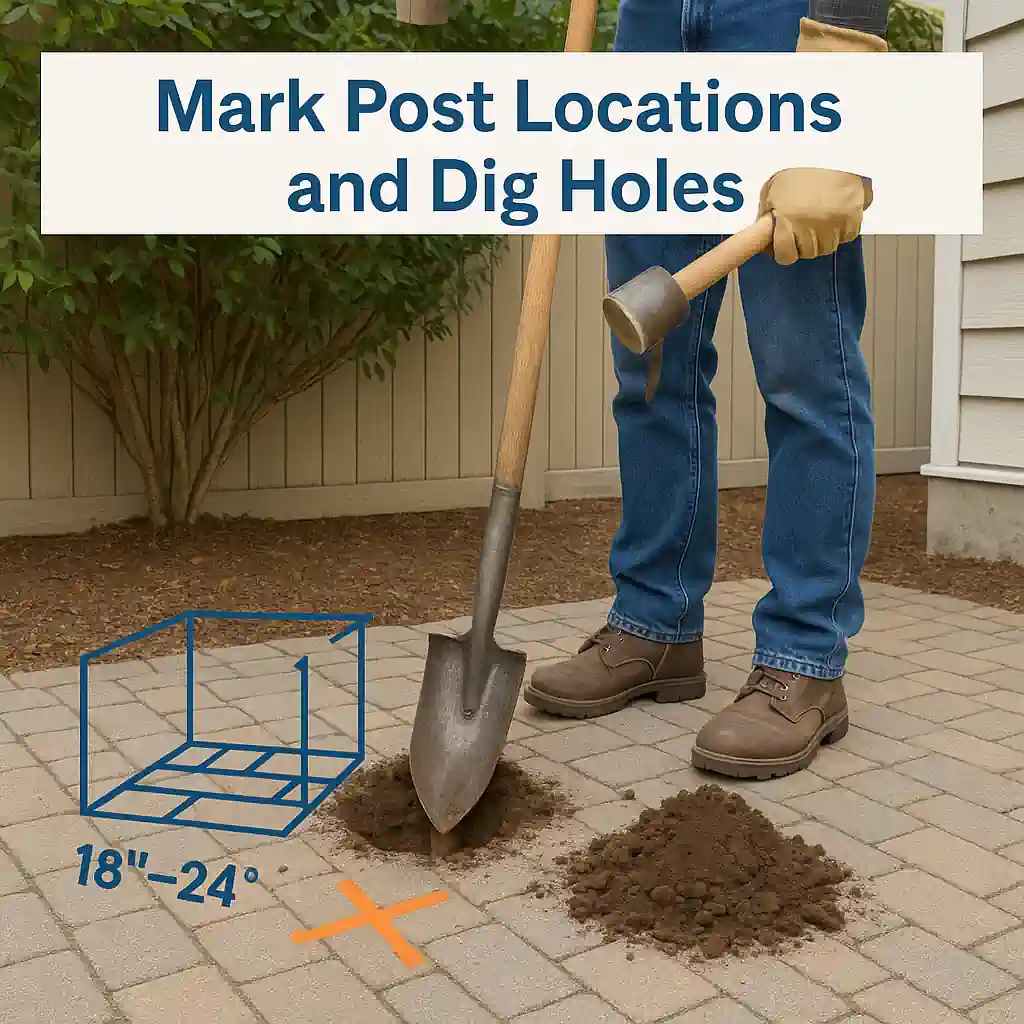
Let the concrete cure for 24 hours before attaching anything.
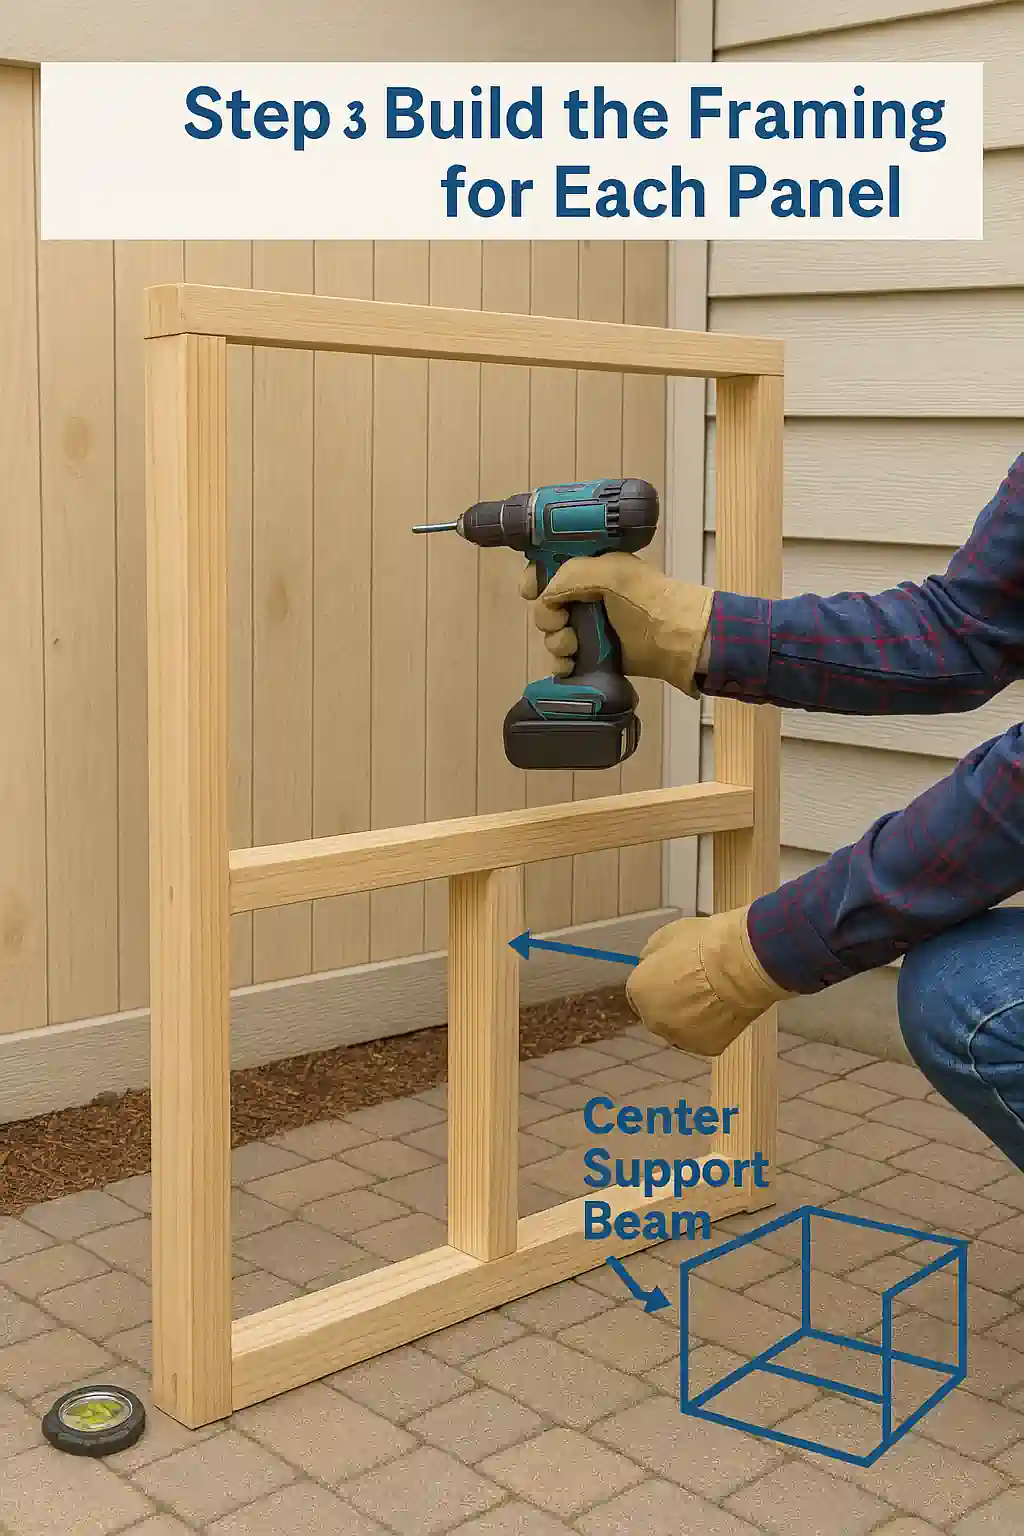
3. Build the Framing for Each Panel
Once the posts are secure, it’s time to create the frames that will hold the lattice panels.
- Cut 2×4s to the width and height between your posts.
- Attach them to the posts using galvanized screws to make a rectangular frame.
- Add a center support beam if your panel is wider than 4 feet to prevent sagging.
4. Attach the Lattice Panels
Now it’s time to install the star of the project — the lattice.
- Cut the vinyl or wood lattice to fit your framed panels.
- Secure each sheet using screws and washers or a staple gun (for wood).
- Add lattice cap trim around the edges for a polished look and added stability.

Important: Leave a 1/4″ gap for expansion, especially with vinyl lattice.
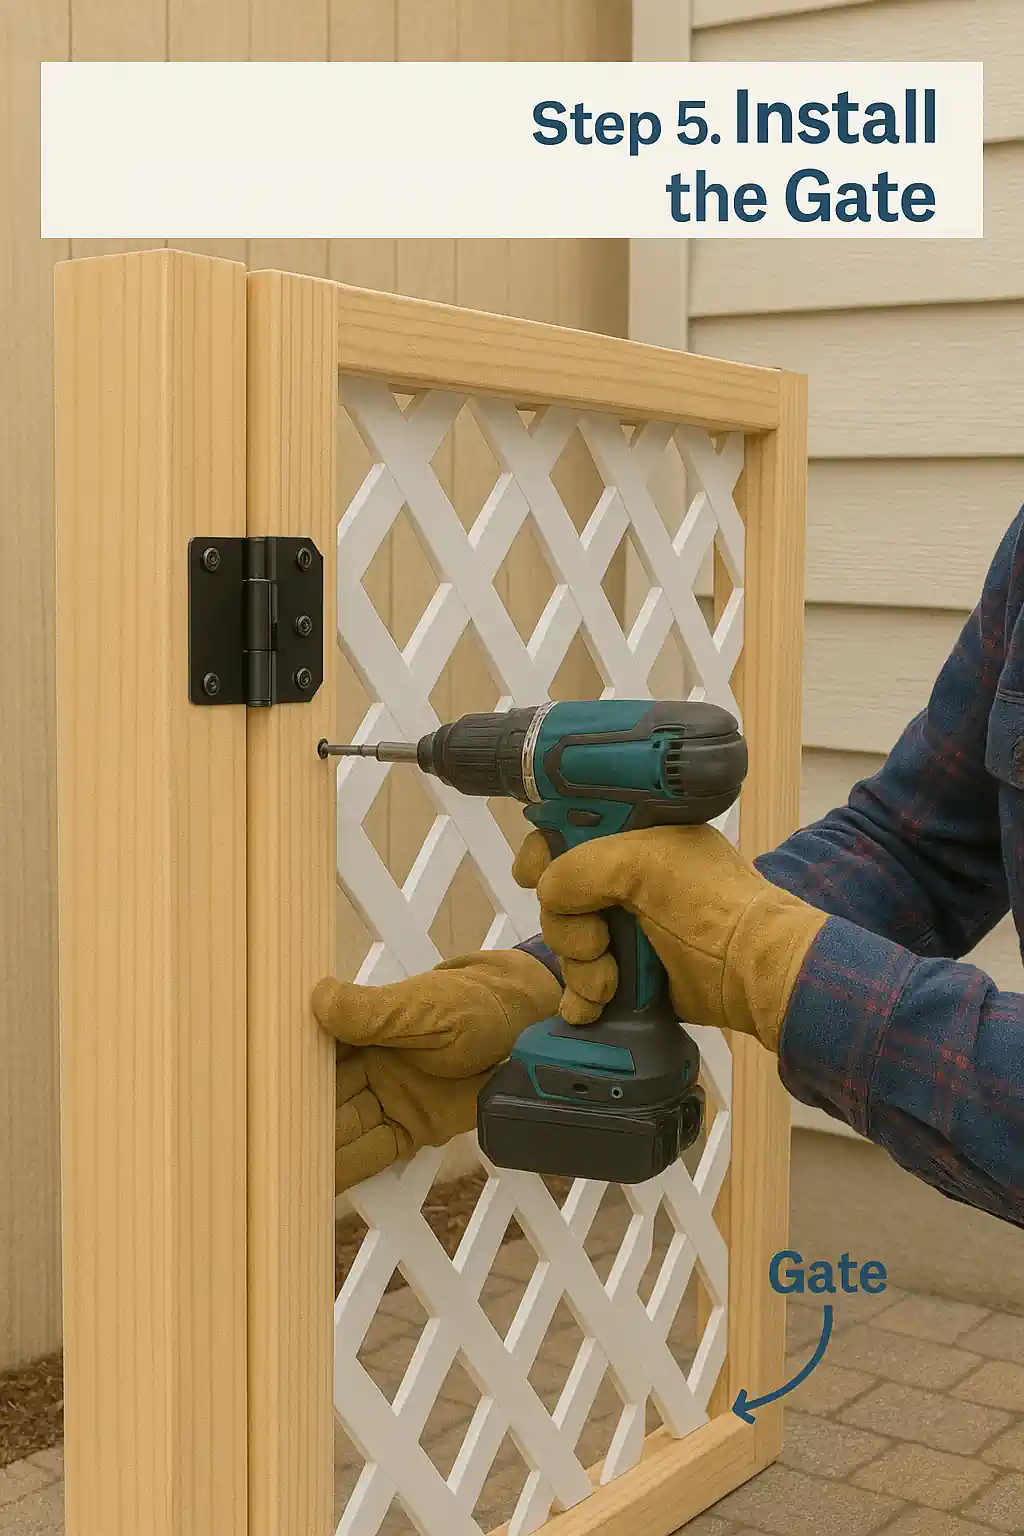
5. Optional: Add a Gate
If you want to fully enclose your trash bins, consider adding a small swing gate on one side.
- Use a gate kit or build one using extra lattice and 2×4s
- Add outdoor hinges and a latch
- Ensure it swings wide enough to pull bins in and out easily
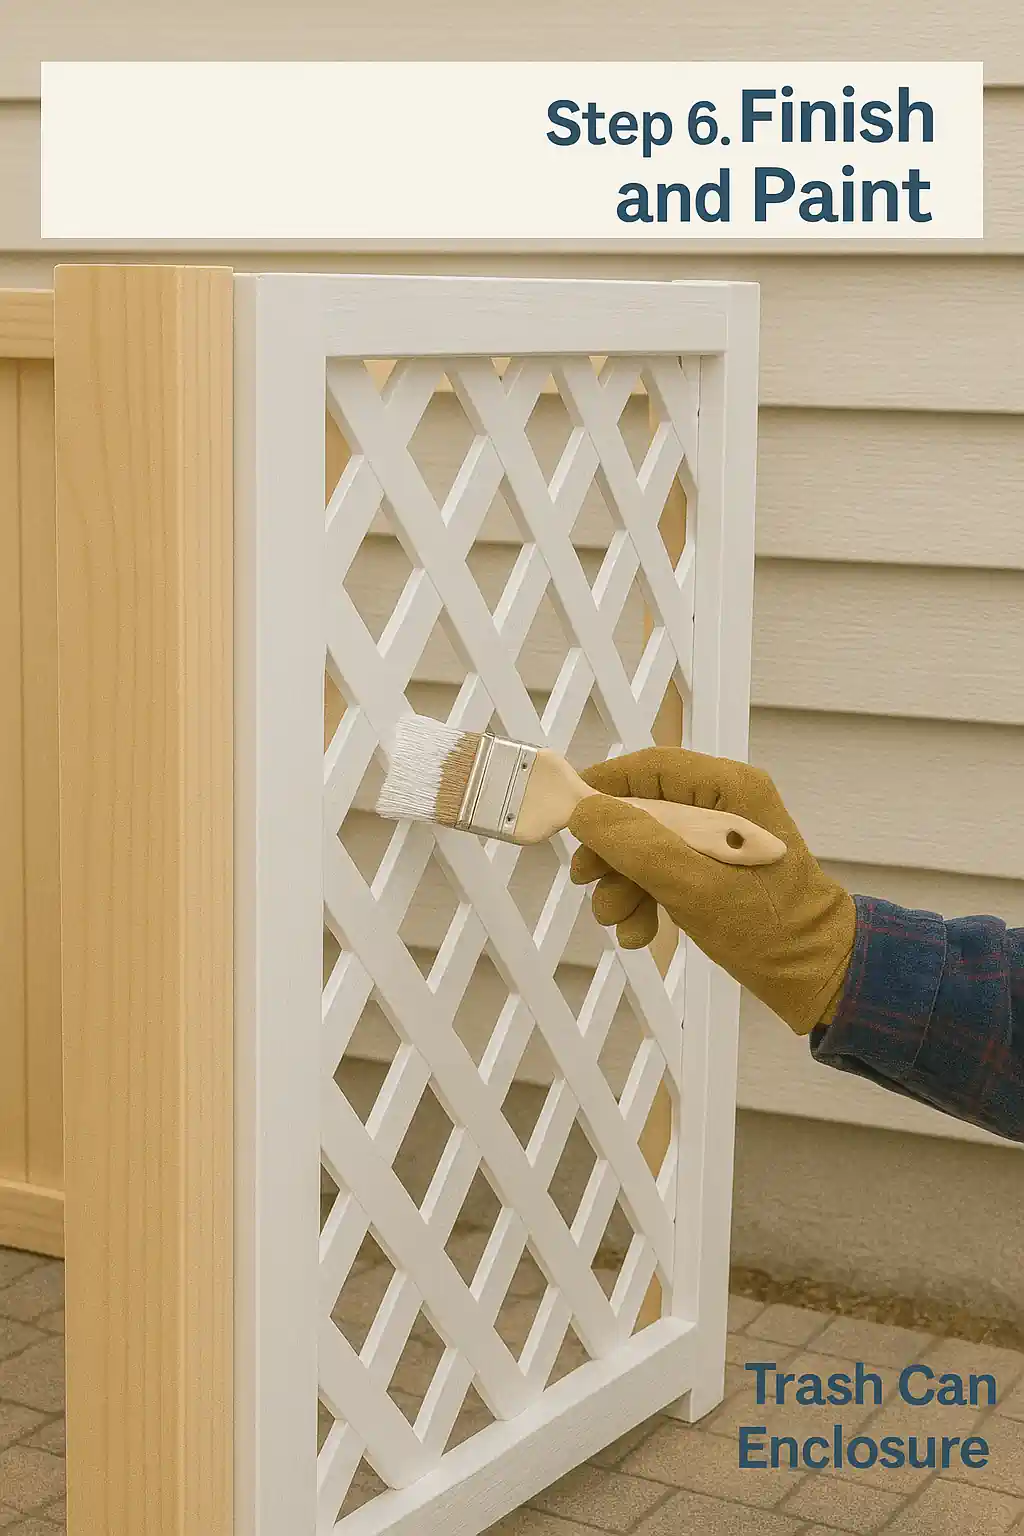
6. Finishing Touches
- Apply exterior stain or paint if using wooden materials.
- Use deck sealant to protect from rain and sun.
- Add decorative top trim, solar lights, or a small planter box on top.
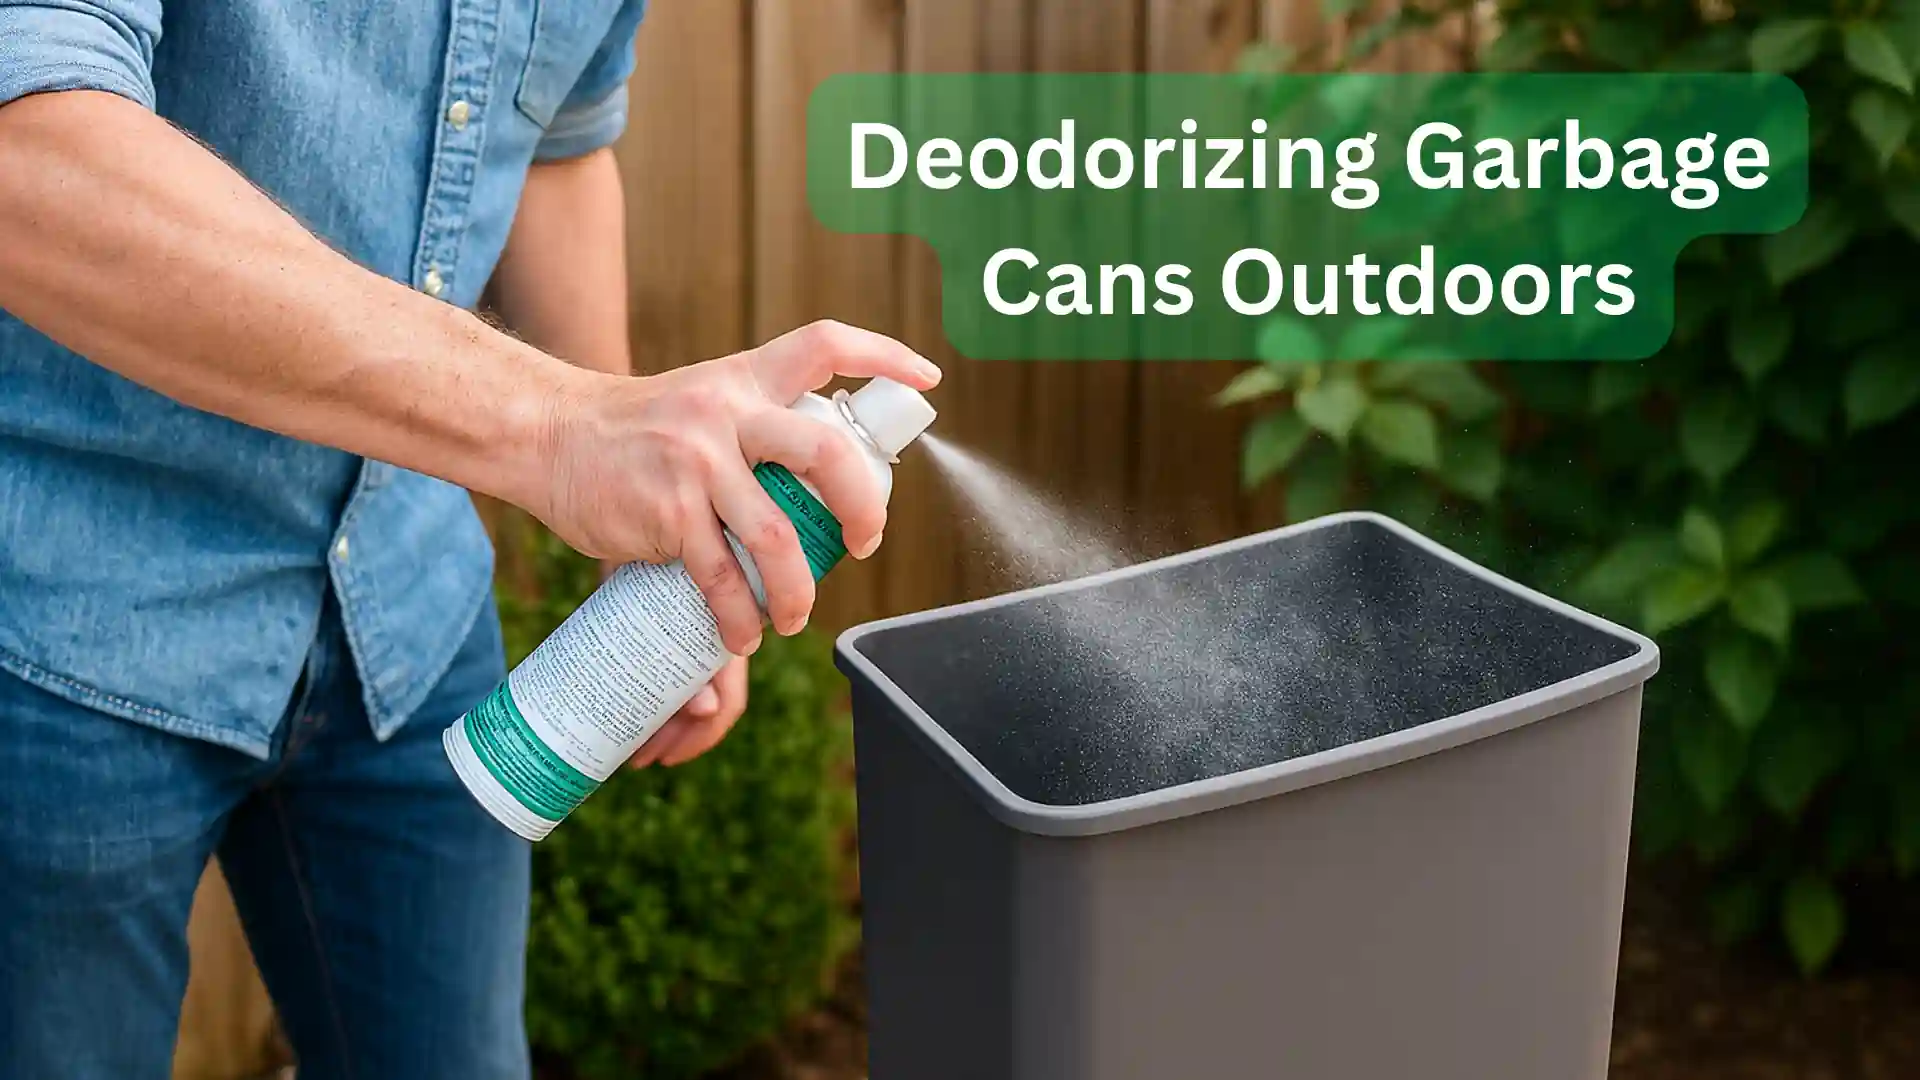
Before sealing your garbage cans inside a permanent enclosure, it’s important to clean and deodorize them. This ensures you’re not trapping unpleasant odors in a confined space. Learn how to properly deodorize and clean your outdoor garbage cans before installation.
Maintenance Tips
- Clean lattice panels every few months with mild soap and water
- Reapply paint or stain every 1–2 years (for wood)
- Check for termites, loose screws, or weather damage periodically
- Trim nearby bushes to prevent moisture buildup
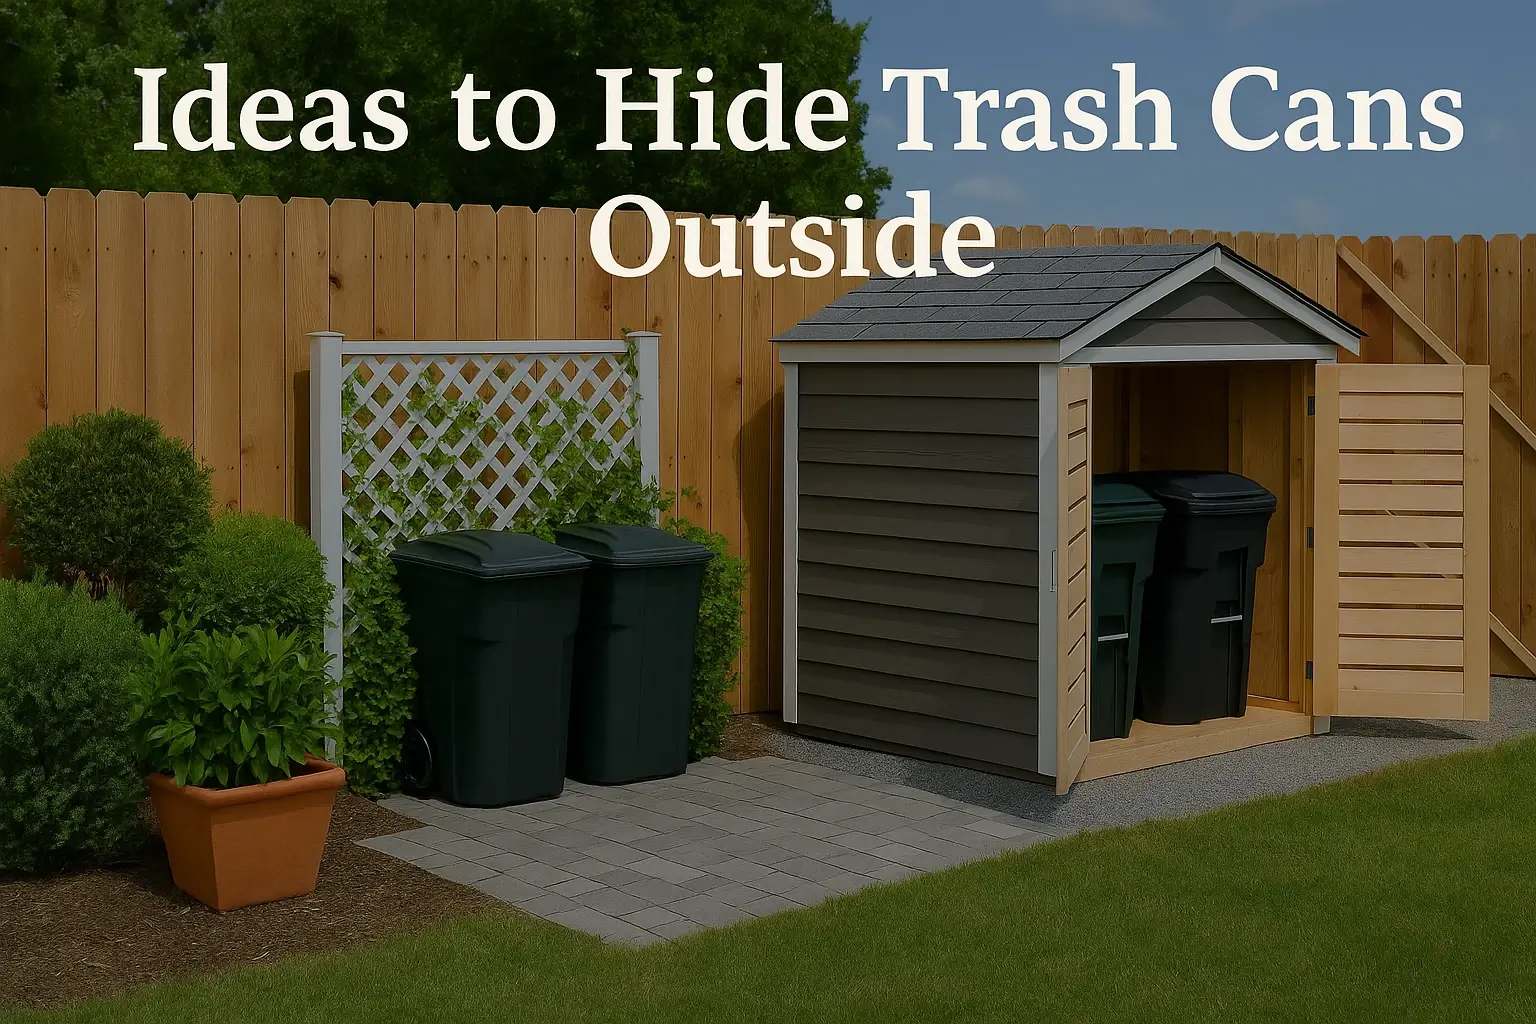
Design Ideas and Variations
Want to get creative? Here are a few style upgrades to make your garbage enclosure even cooler:
- Modern Look: Use horizontal slats instead of lattice
- Rustic Charm: Stain the wood in a deep cedar tone and add wrought iron hinges
- Matching Theme: Paint the enclosure the same color as your house trim
- Green Screen: Let a vine or climbing plant grow over the lattice for a living wall look
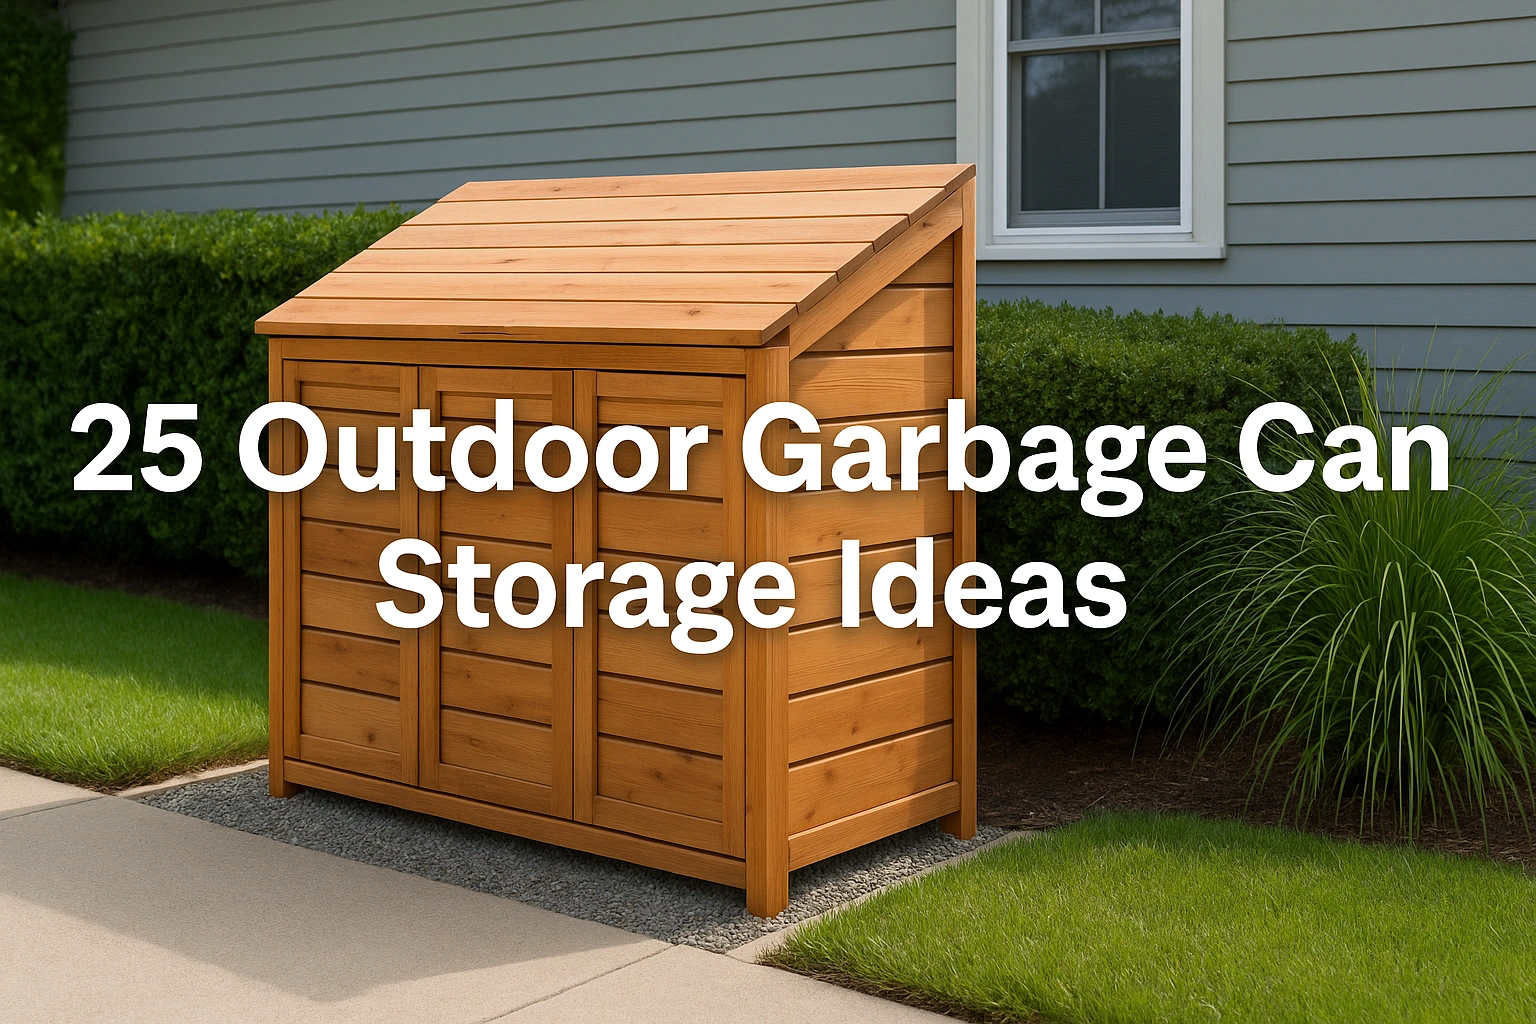
Check Out 25 Outdoor Garbage Can Storage Ideas to Tidy Up Your Yard
Common Questions
Q: Can I build it on concrete?
Yes! Use post base brackets to secure your 4×4s to concrete surfaces using anchors.
Q: Is vinyl better than wood lattice?
Vinyl is low-maintenance and weatherproof. Wood offers a more natural look but requires sealing.
Q: What’s the cost to build?
A DIY lattice enclosure typically costs $100–$250, depending on materials and size.
Final Thoughts
Now that you know how to build a lattice garbage can enclosure, it’s time to get started and give your home that clean, polished exterior it deserves. This small project goes a long way in maintaining a neat, organized, and stylish look, without breaking the bank.
Not only will you hide those unsightly trash bins, but you’ll also enhance your outdoor decor and maybe even impress the neighbors.