DIY Christmas Decorations Using Old Cardboard and Paper
DIY Christmas Decorations Using Old Cardboard and Paper can turn an ordinary pile of packaging into a home filled with handmade holiday charm. Instead of buying a completely new set of ornaments, you can reuse shipping boxes, cereal cartons, newspaper, and gift wrap to create decorations for a tree, mantel, window, or tabletop. The projects below balance easy techniques with details that make the finished pieces feel intentional rather than temporary.
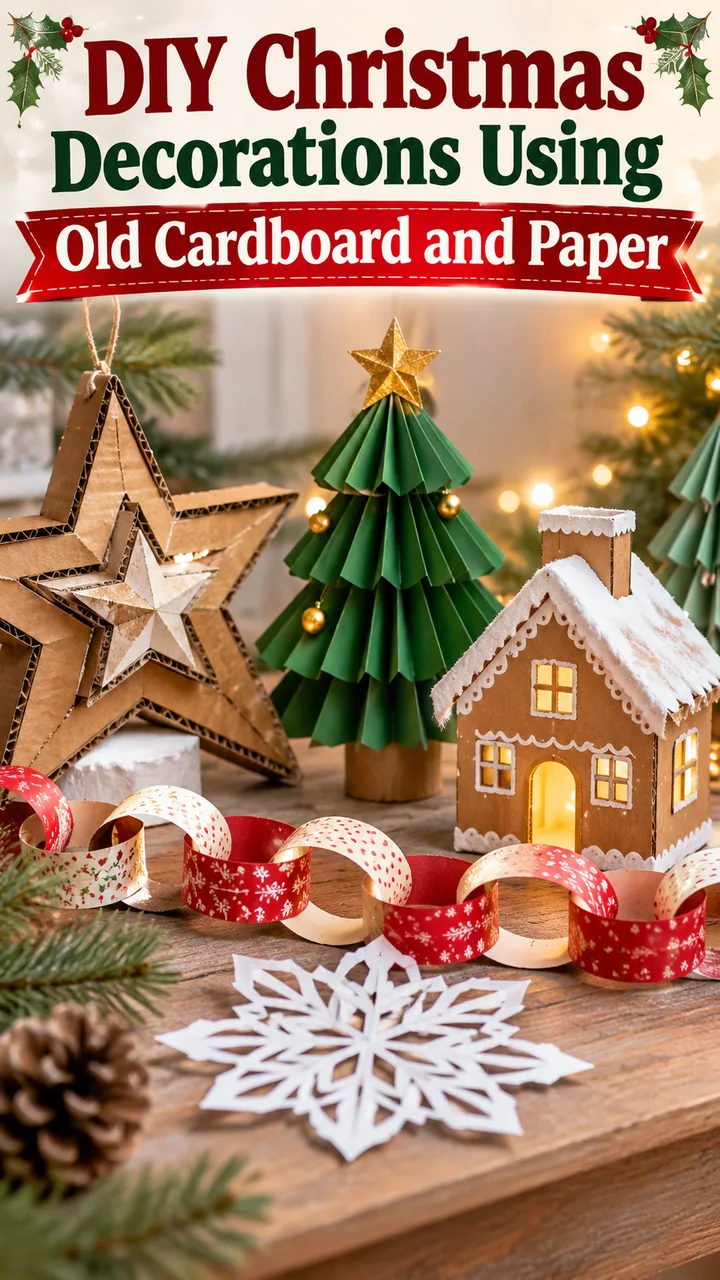
These 12 ideas range from quick paper chains to a miniature cardboard village, so there is something for families, beginners, and anyone decorating on a budget. Each project explains how to choose the right scrap material, put it together, and store it for another season. You can keep a neutral kraft and white palette or embrace colorful nostalgic Christmas patterns.
Layered Cardboard Star Ornaments
Flatten a clean cereal box or shipping carton and draw stars in three graduated sizes. Cut each shape with sturdy scissors, then glue the smaller stars onto the larger ones. A narrow border around each layer creates a shadow that makes the ornament look more substantial than a single flat cutout. For a rustic finish, leave the kraft surface exposed. For a softer holiday palette, cover the front layer with leftover wrapping paper before assembling the star.

Punch a small hole near the top, reinforce it with a tiny cardboard circle, and thread through saved ribbon or cotton twine. Hang the stars on a tree, from cabinet knobs, or across a window. Corrugated board adds attractive texture, but thin box board makes cleaner small points. Let glue dry completely before hanging. Store finished stars flat between sheets of scrap paper so the corners stay crisp for next December.
Accordion Folded Paper Christmas Trees
Collect old gift wrap, magazine pages, or clean printer paper with writing on only one side. Cut a rectangle and fold it back and forth into equal pleats. Pinch the top and gently open the lower folds until the silhouette resembles a triangular Christmas tree. Attach the center to a folded cardboard stand or glue the pleated paper onto a triangular cardboard backing for extra stability. Choosing different paper widths creates a coordinated group of little trees.
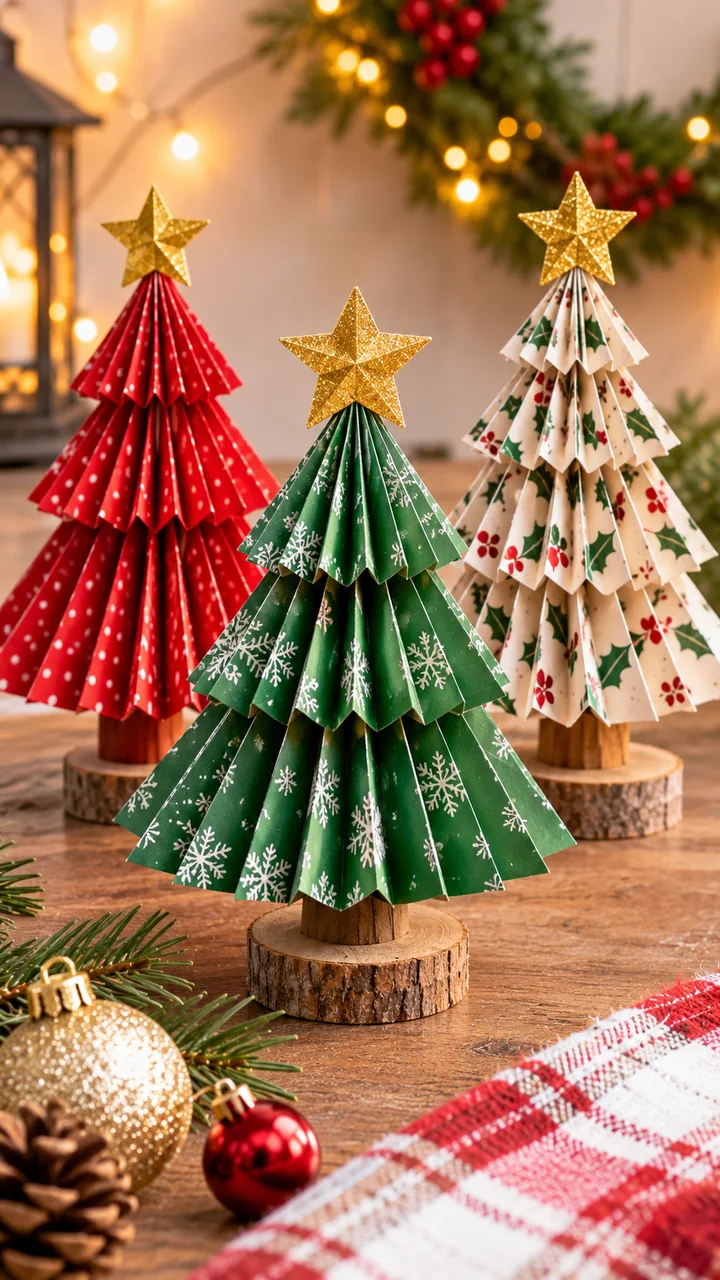
These decorations work especially well along a mantel, on a bookshelf, or as a holiday table display. A small star made from a packaging scrap gives each tree a finishing touch. If the paper feels too flimsy, use a double layer rather than applying heavy paint. Keep the folds wide enough to open without tearing, and save the trees in a box with enough room to protect their shape.
Interlocking Cardboard Tabletop Trees
A freestanding cardboard tree makes a striking centerpiece without needing a plastic base. Draw the same tree silhouette twice on a flattened shipping box. Cut a slit from the top to the midpoint of one piece and another from the bottom to the midpoint of the second. Slide the two pieces together at right angles. Test the slots before decorating: a snug fit should hold the tree upright without bending the cardboard.
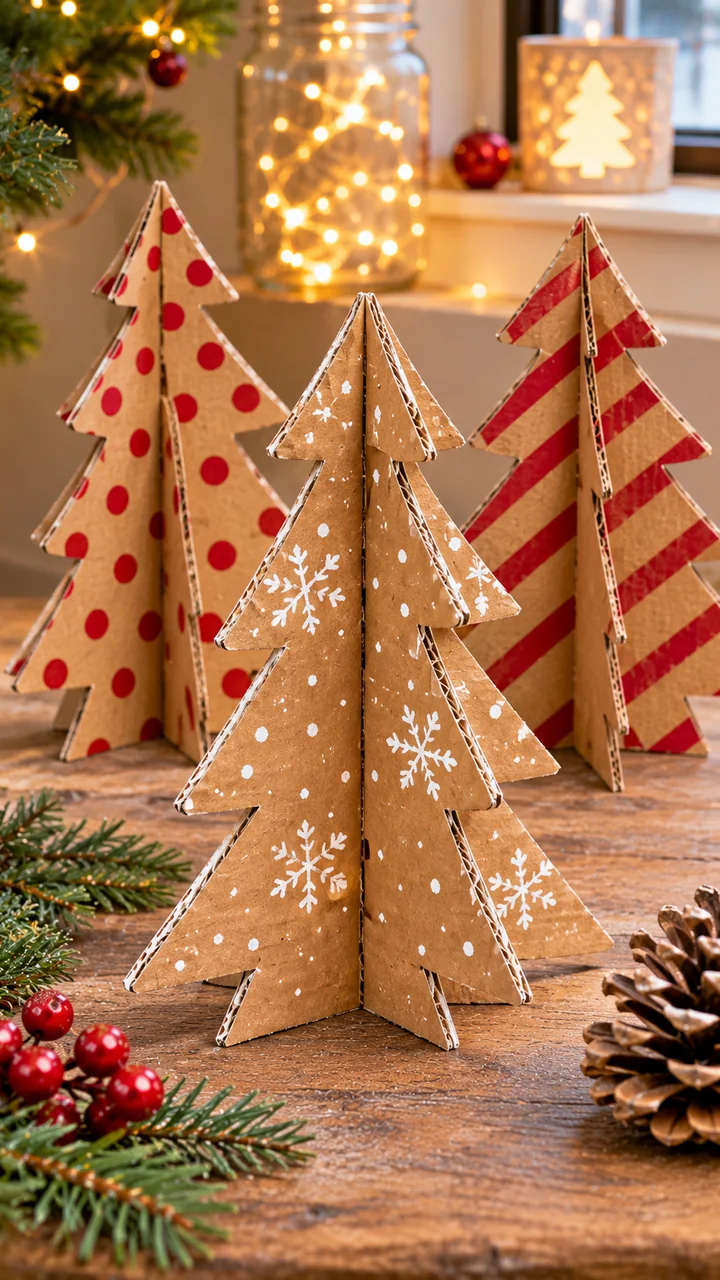
Cover the surfaces with old green gift paper, add small paper circles as ornaments, or leave the exposed corrugated edges for a natural look. Make several trees in varied heights for a miniature forest on a side table. Choose sturdy, dry cardboard and keep the base broad enough to prevent tipping. Take the pieces apart after Christmas and store them flat. This design is particularly useful in apartments where bulky decorations are difficult to keep year after year.
Vintage Style Paper Chain Garlands
Paper chains are simple, cheerful decorations that can make even plain rooms feel festive. Cut equal strips from unwanted wrapping paper, discarded craft paper, or the blank sides of colorful mailers. Form the first strip into a loop and secure the ends with a little paper glue or tape. Thread the next strip through that loop before closing it, then repeat until the garland reaches the desired length. Try alternating patterns or using only two complementary colors for a more deliberate look.

Drape the chain across a doorway, mantel, stair railing, or window, keeping it clear of lights and heat sources. Using wider strips gives a bold retro effect, while narrower strips create a delicate chain for smaller spaces. A chain made from paper with different weights may hang unevenly, so sort the paper before starting. Fold the finished garland into generous loops for storage rather than compressing it into a tight ball.
Recycled Paper Snowflake Window Decorations
Turn the clean pages of old notebooks or unused envelopes into snowflakes that brighten winter windows. Start with a square of paper, fold it into a triangle, then fold it again. Cut small notches along the folded edges while leaving enough of the paper connected to hold the shape together. Open it carefully to reveal a symmetrical design. Practice on ordinary scrap paper before attempting more intricate patterns, especially if children are helping.

A mix of large simple snowflakes and smaller detailed ones looks more natural than repeating one template. Attach them with removable window safe tape or hang them on thread from a curtain rod. For a subtle frosted appearance, use white paper; for playful color, reuse printed packaging inserts. Smooth the opened snowflakes beneath a book before displaying them. Avoid delicate cuts near the center, where a single tear can cause the whole design to fall apart.
Cardboard Gingerbread House Village
Old delivery boxes make wonderful miniature houses for a Christmas village. Cut a simple front, back, two sides, and two roof panels from lightweight cardboard. Glue the walls into a box shape, then attach the roof after the structure has set. Draw frosting patterns around the windows and door with a white pencil or paint marker, or glue on narrow paper strips to create the same effect. Keep the details flat so the houses pack easily.
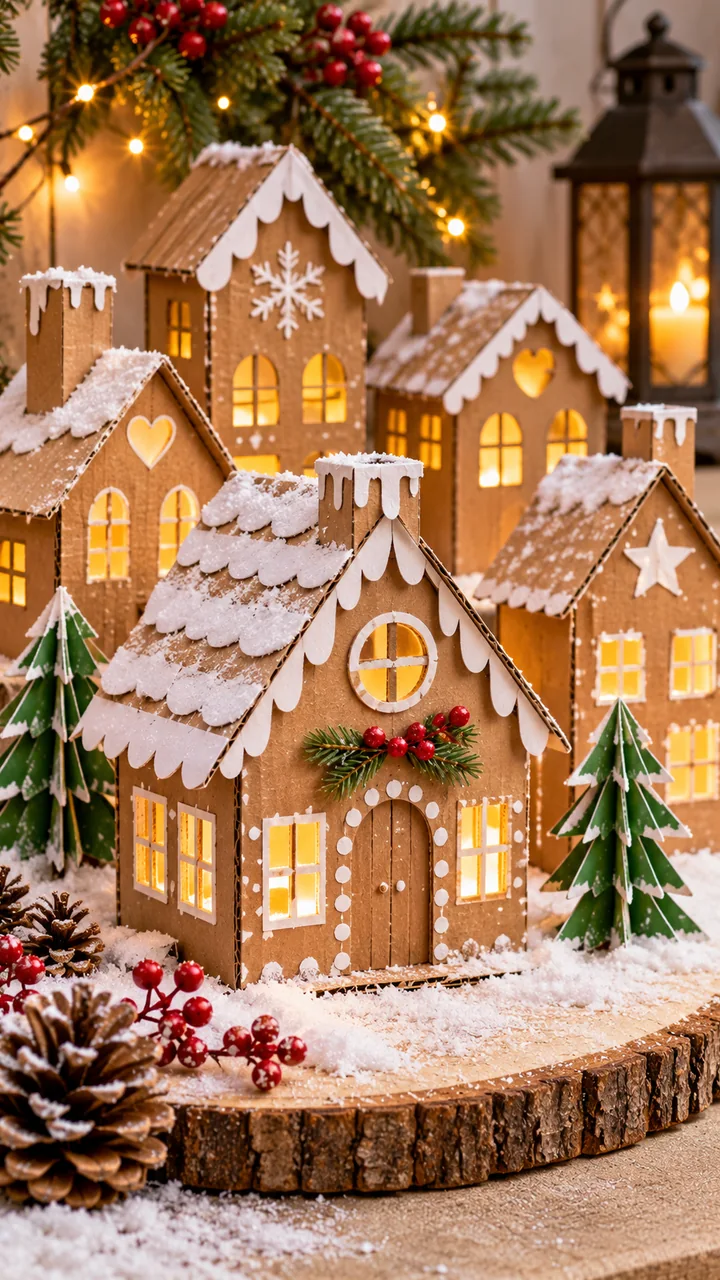
Arrange three or four buildings on a shelf with folded paper trees and a winding pathway cut from scrap paper. Different roof heights make the display more interesting, even when every house uses the same basic pattern. For illuminated displays, use only cool battery operated LED lights placed safely away from paper and never use a candle. Label each building underneath if you plan to dismantle the village, and keep the panels together for quick assembly the following season.
Toilet Paper Roll Snowflake Wreath
Empty cardboard tubes can become a surprisingly elegant wreath. Flatten several clean paper rolls, then cut them into rings of equal width. When viewed from above, each ring resembles a pointed petal. Arrange five or six rings around a central gap to form a flowerlike snowflake and secure the touching sides with craft glue. Repeat the clusters and join them into a circular wreath on a cardboard ring that acts as a hidden support.
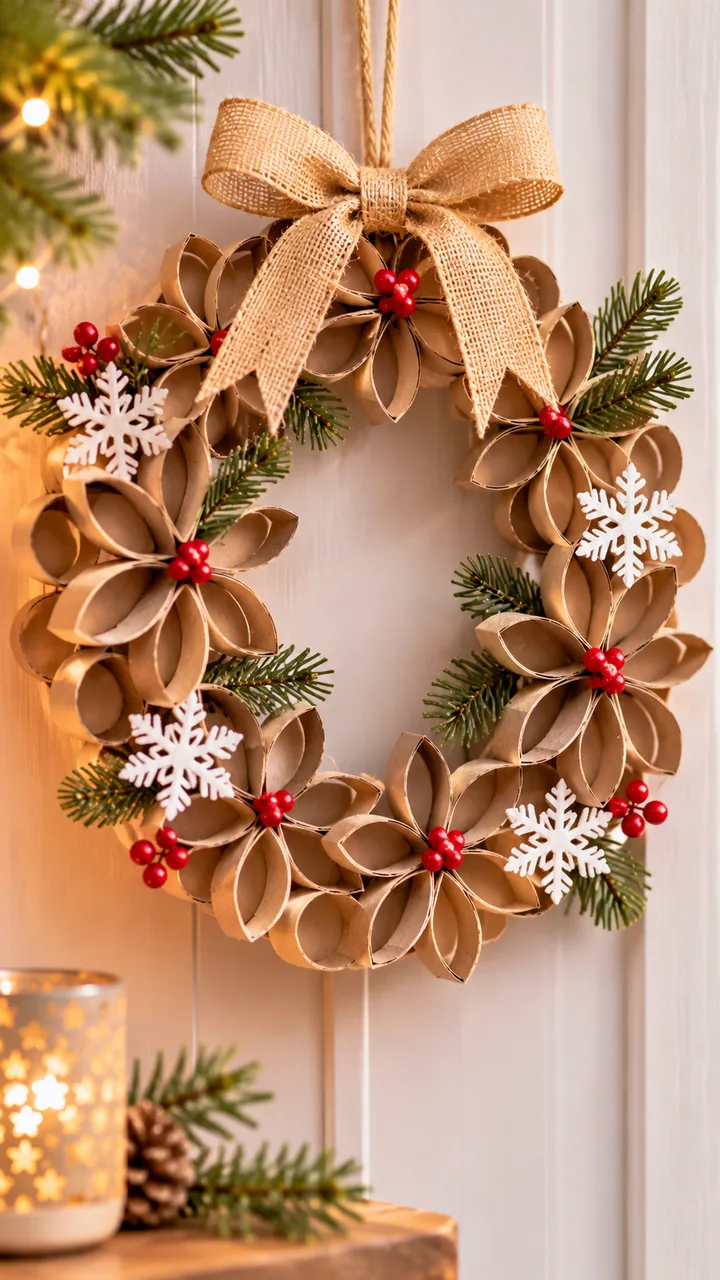
Leave the tube surfaces natural, or coat them lightly with white paint for a winter look. A few small folded paper leaves or stars add texture without buying extra supplies. This wreath is best on an interior door or sheltered wall because moisture can soften cardboard. Make the hanger part of the supporting ring rather than pulling on one thin tube segment. To prevent warping, dry the wreath on a flat surface and store it in a shallow box.
Rolled Newspaper Paper Bead Garland
Newspaper and unwanted catalog pages can become decorative paper beads. Cut long tapered triangles, then roll each piece tightly from its wide edge toward the point around a reusable pencil or thin dowel. Secure the final tip with a dab of glue, slide the bead off, and let it dry. The printed text creates a soft patterned finish, while colorful magazine pages make a brighter garland. Make a variety of lengths while keeping the center holes open for threading.
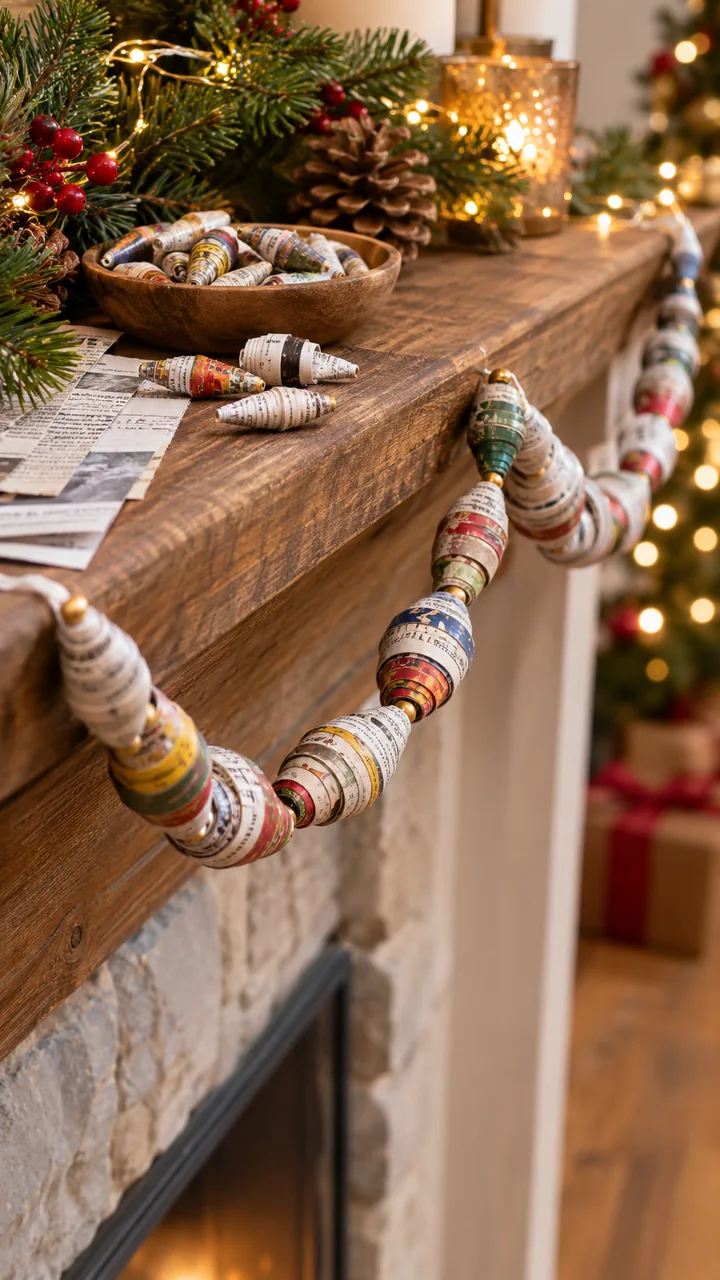
Thread the finished beads onto saved cotton string, alternating them with small cardboard circles or folded paper stars. Use the garland around a miniature tree, on a mantel, or across a shelf. If a bead unravels, add a little glue under the loose tip instead of soaking the whole piece. Keep paper beads away from damp windows and misted greenery. This project is a smart use for thin paper that is difficult to turn into sturdy ornaments.
Folded Paper Fan Rosettes
Old gift paper can make dramatic rosettes for a wall or holiday backdrop. Cut two rectangles of matching size, then fold both in even accordion pleats. Fold each pleated strip in half and glue its inner edges together to form a fan. Join the two fans at their open ends to make a full circle. Cover the center seam with a small cardboard disk so the finished rosette looks neat from the front.
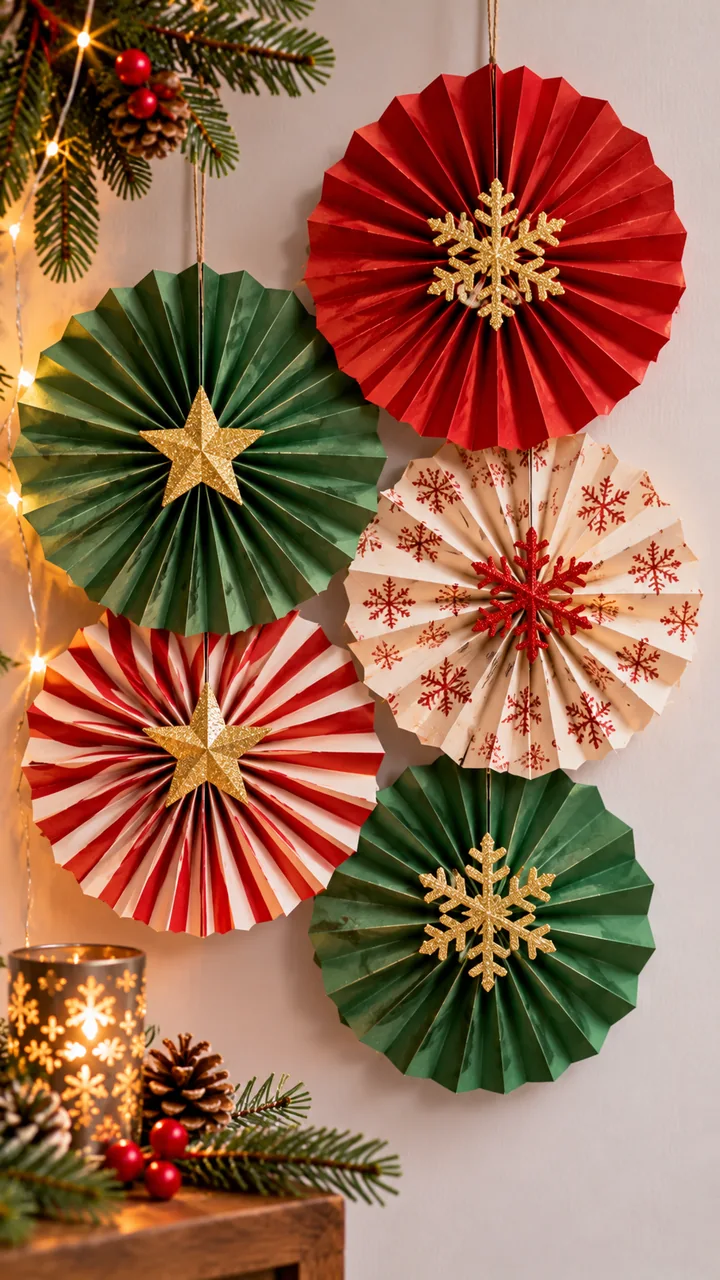
Create several sizes and overlap them slightly on a wall for a display that feels full without requiring much material. Plain brown packaging paper paired with patterned gift wrap produces a particularly warm effect. To prevent sagging, avoid very heavy paper in oversized circles and reinforce the back with a thin cardboard strip. Use removable hanging strips appropriate for your wall surface. After the season, fold the fans inward carefully and place them between pieces of cardboard to protect their pleats.
Cardboard Reindeer Silhouette Decorations
Use a clean box panel to draw a simple reindeer body with a rounded chest, long legs, and branching antlers. Cut along the outline carefully, then trace it to make matching shapes. Add an extra cardboard layer behind the body if the original panel bends easily. For a tabletop version, attach two broad slotted feet that fit onto the legs and keep the animal upright. Alternatively, punch a hole at the top for a hanging silhouette.

The natural brown cardboard already suggests a reindeer, so elaborate painting is optional. Add a small scarf made from leftover wrapping paper or a paper collar for a little personality. Group silhouettes beside the cardboard village or hang smaller ones from a branch display. Keep antlers thick enough to resist snapping and avoid making the legs too narrow. Flat silhouettes require very little storage space, making them ideal decorations for homes with limited closets.
Hanging Paper Honeycomb Baubles
Lightweight book pages from damaged books, recycled office paper, or leftover wrapping paper can become dimensional honeycomb ornaments. Cut several identical circles, fold each one in half, and stack them. Apply small glue spots at alternating positions inside and between the folded halves so the layers open into a repeating honeycomb pattern. Test the technique with six circles first, then add more layers to create a fuller ornament.

Join the first and last layers only after the glue has dried, and insert a loop of thread at the top. These baubles look beautiful suspended at different heights in a window or from a branch, where the changing light shows their layered texture. Thin paper opens more easily than cardboard; use cardboard only for small reinforcing tabs. Never place them directly against hot bulbs. When the holiday ends, open the seam gently if possible and fold the ornament flat for storage.
Recycled Cardboard Christmas Countdown Display
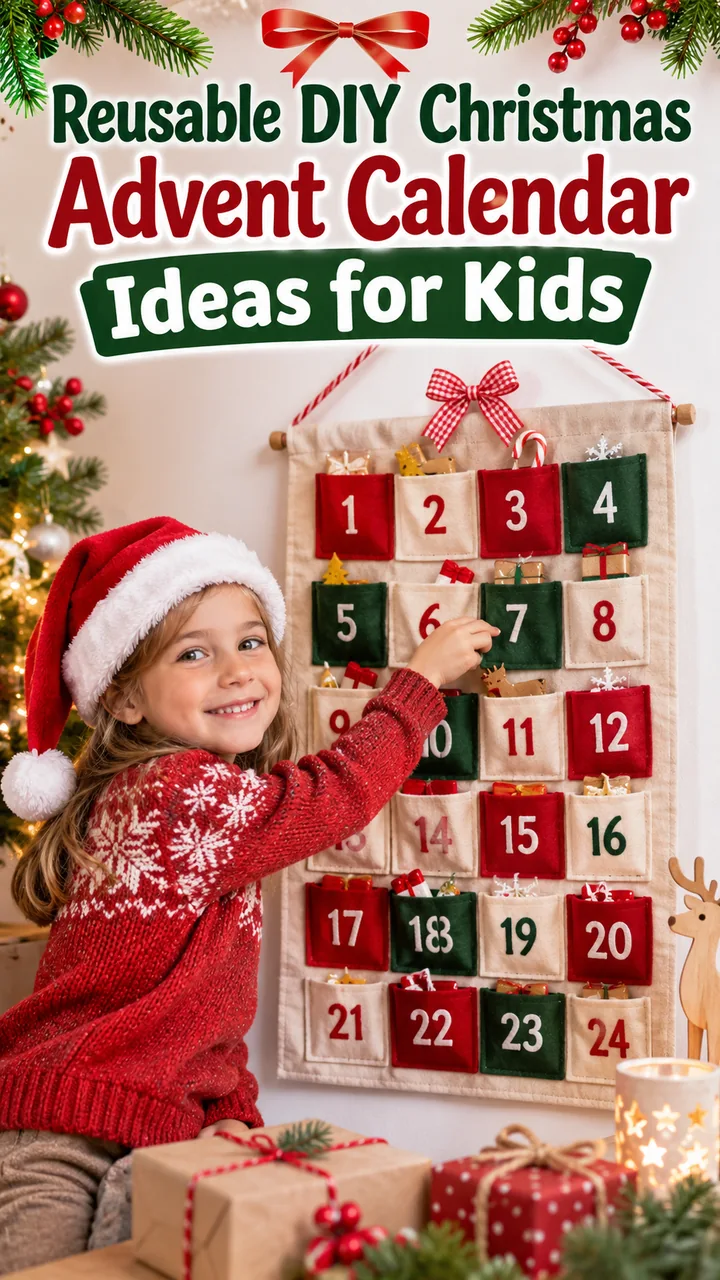
Turn a wide cereal box panel into a simple December countdown decoration. Cut a large tree or house shape and cover its front with the unused side of old wrapping paper. Make small folded paper pockets, then glue them in orderly rows onto the backing. Mark each pocket with a handwritten date or a small number cut from discarded paper. Slip a family activity suggestion, gratitude note, or festive drawing into each pocket rather than purchasing disposable treats or plastic fillers.
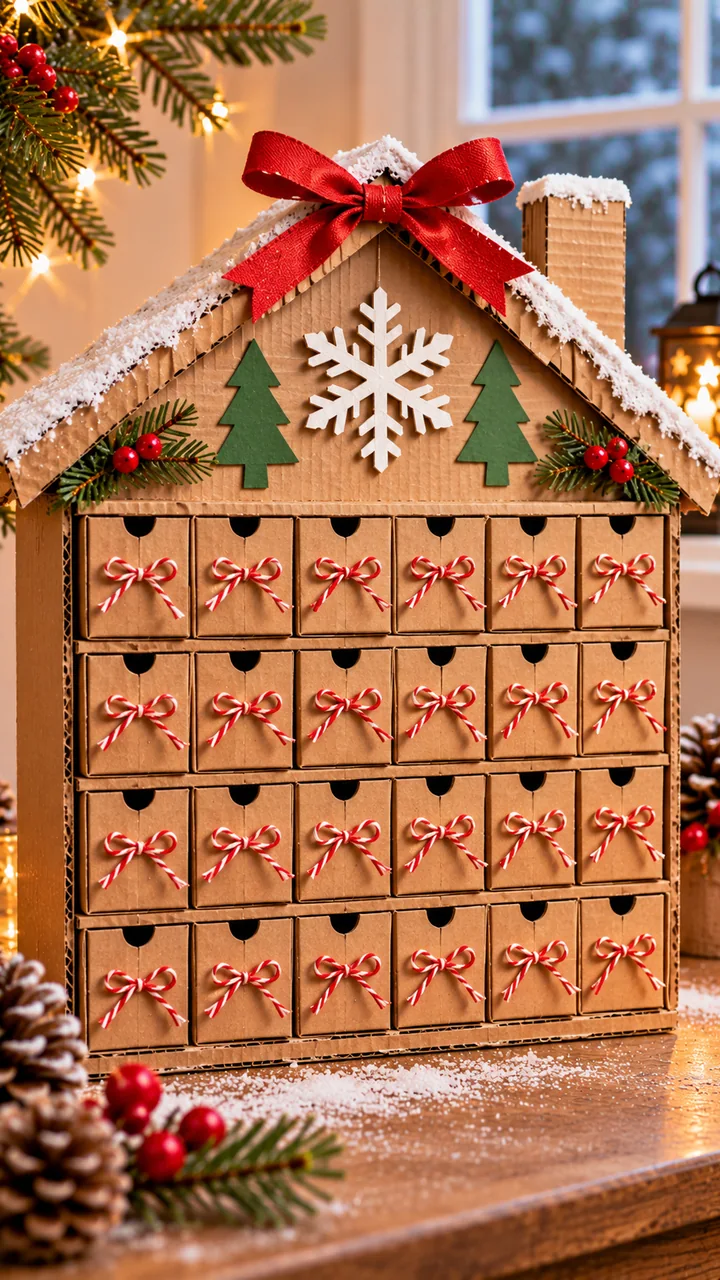
Place the display on a sturdy easel made from folded box board or hang it using reinforced holes near the top. Keep the pockets roomy enough to reuse without tearing, and write the activity notes on separate scraps that can change each year. Children can help decorate the backing while an adult handles any difficult cutting. Once Christmas passes, remove the notes and store the display flat. It becomes a reusable family tradition rather than a decoration that must be replaced annually.
Choosing and Preparing Recycled Materials
The best results start with clean, dry materials. Shipping cartons suit sturdy displays, cereal boxes suit precise cutouts, and thin writing paper suits snowflakes and folded forms. Remove shipping labels and any staples before starting. Avoid greasy food packaging, damp boxes, and heavily coated scraps that refuse to hold glue. Keep useful offcuts in one tray so tiny stars, tabs, and backing pieces do not go to waste.
Basic scissors, a pencil, ruler, paper glue, and a hole punch cover most projects. Children should use age appropriate scissors, while an adult handles cutting thick cardboard. Work on a protected table and choose water based finishes when possible. Before attaching a hanging loop, test the strength of its paper or cardboard anchor.
Making Homemade Decorations Last Longer
Allow every glued piece to dry fully before moving or hanging it. Thin paper easily curls under wet paint, so apply color sparingly or use paper that already has a pattern. For lightweight ornaments, a small reinforced hole usually works better than attaching string to an unsupported edge. Store paper decorations away from moisture, direct sun, and places where they may get crushed.
A shallow reused box with cardboard separators keeps stars, snowflakes, and rosettes organized. Label compartments by project so next year’s decorating is easier. Keep paper ornaments away from flames, heaters, and hot light bulbs; battery operated LEDs are a safer choice for any nearby decorative lighting. When a decoration finally wears out, separate strings, tape, and other nonpaper additions before checking local paper recycling guidance.
Conclusion
DIY Christmas Decorations Using Old Cardboard and Paper make it possible to decorate with creativity rather than a large shopping budget. Sturdy box board becomes freestanding trees and miniature houses, while thin discarded pages become snowflakes, chains, and delicate baubles. The most useful approach is to match each material to a project that suits its strength and texture.
Choose one or two projects to start, save the clean scraps you create, and build a coordinated collection over several seasons. With careful construction and thoughtful storage, these handmade pieces can become familiar holiday favorites while giving old packaging and paper another meaningful use.